Tuesday, November 18, 2014

Baby Quilt Tutorial-Quilt Sandwich

Making a quilt sandwich is similar to building a sandwich in the kitchen.  A top and bottom additional layers in between held together with condiments.  In our case, the "condiments" will be adhesive spray and/or safety pins.

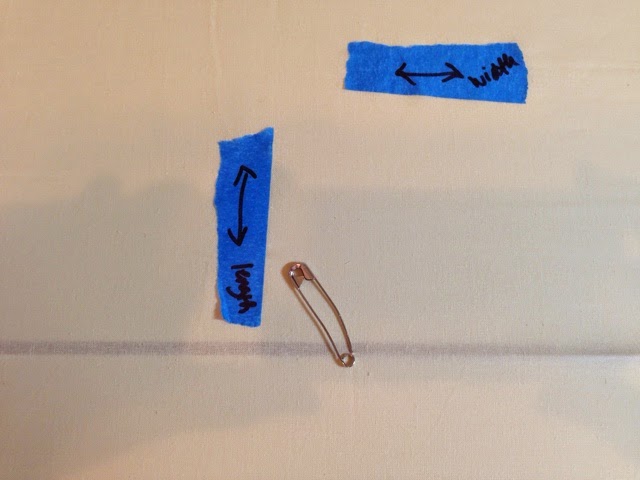
Clean off a cutting table or floor so you can spread the quilt out right side down.  This step is like laying your bottom piece of bread down to get ready to build your sandwich.  I like to fold my backing in half lengthwise and then crosswise to make a point and find the center.  Mark through one layer of fabric with a safety pin.  I also like to use painter's tape with arrows drawn on it to show my length and width.  (This is handy when layering a large quilt such as a king in my sample but not as pertinent with a baby size)

Then spread your backing out RIGHT SIDE DOWN and if on a table, secure with binder clips (find them at your local office supply store) or if on the floor (ouch my knees and back) secure with painter's tape around the edges.

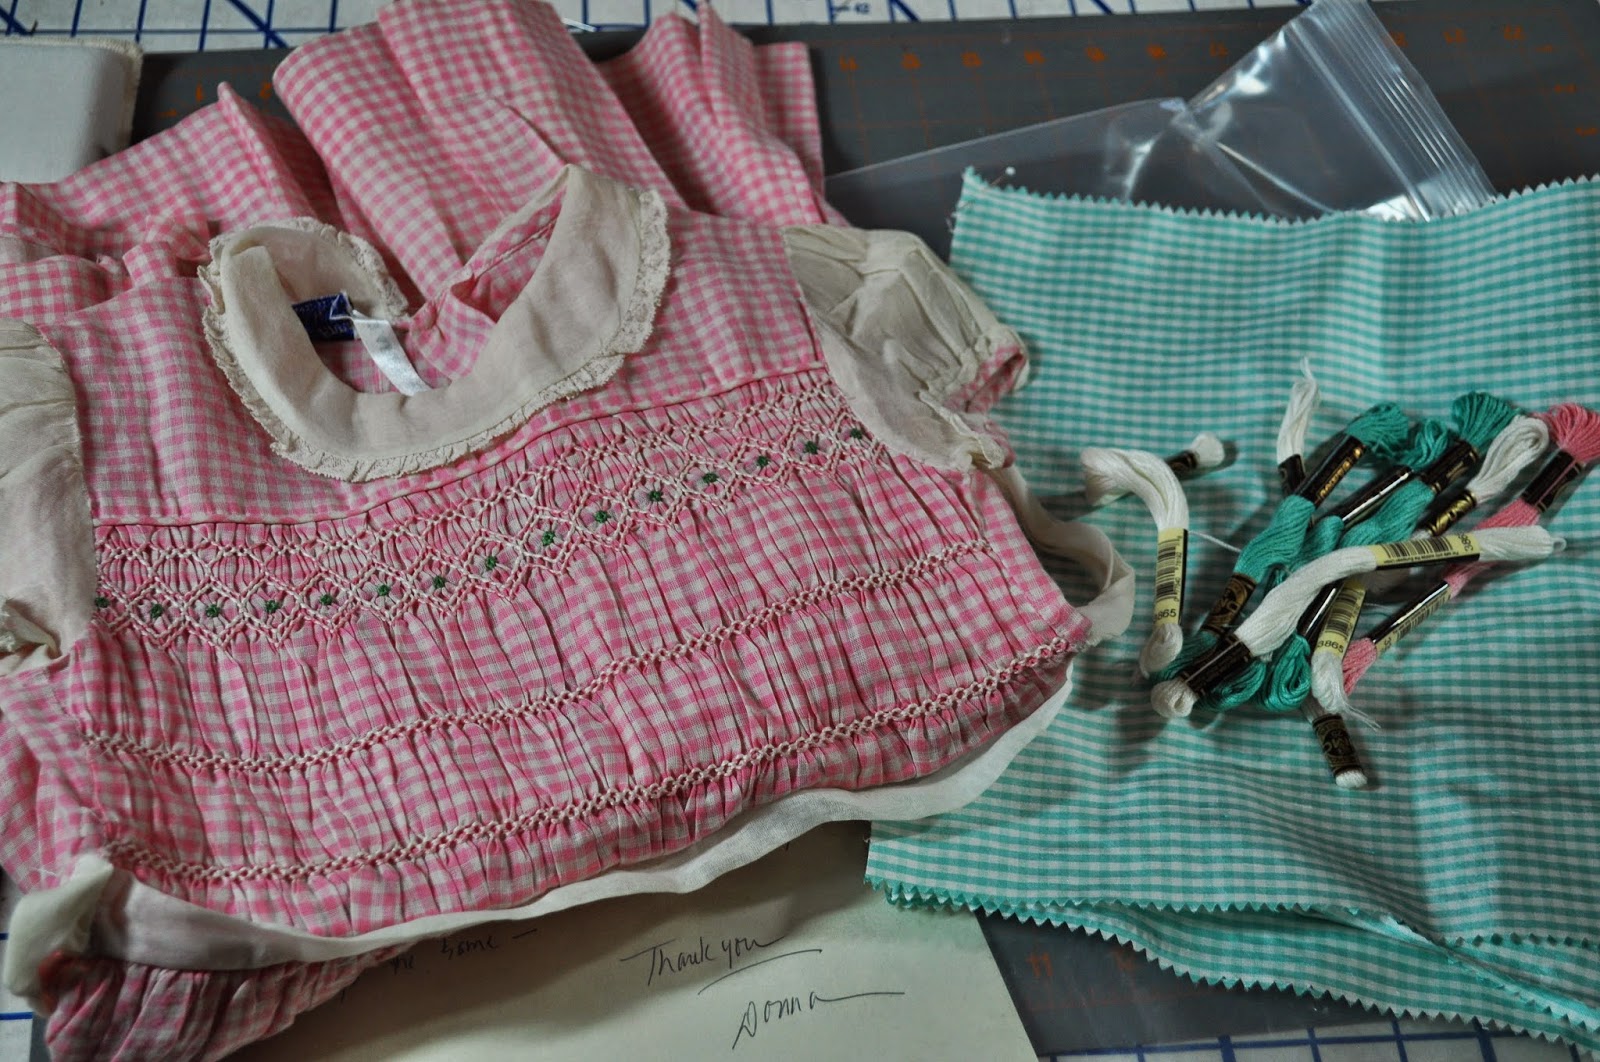
Repeat the folding process with the batting and quilt top to find the center.  Our batting is the next layer in our QUILT SANDWICH!  I like to use adhesive spray to keep my layers nice and smooth.  Typically I use what I can get at my local craft store using my iphone coupons!   Match up your batting center with your backing center, making sure your width and length are both going the same directions! Remove the pin and tape from the backing layer and spray with a little adhesive spray and begin smoothing from the center to the edges.  Take the binder clips off and reattach them including the batting or tape the batting layer to the floor.


Repeat this process with the quilt top (the final top piece to our QUILT SANDWICH-again, I didn't have pictures of the baby quilt in this process, so this is a different quilt!)  Remember to spray lightly with the adhesive spray, smooth to edges beginning at center and then re-clip or tape.
Now the FUN part....safety pins
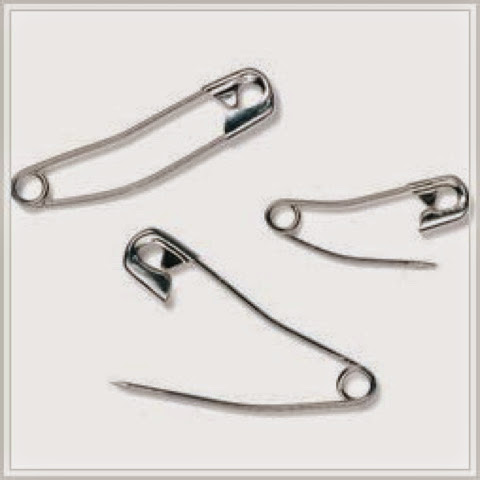
I like to use curved basting pins and willingly pay the extra for them.  They save the fingernails and fingers when trying to close them with the quilt sandwich layers firmly secured to either the floor or table.  

They come in a variety of sizes and can be purchased at most craft/fabric stores and online.  There is even a handy tool to save the fingers if you so desire!
This part of the process is time consuming but most necessary to have smooth quilt layers.  Beginning in the center of the quilt, pin safety pins through all the layers, smoothing and pinning your way to the edge. Pin every 4-6 " until the entire quilt sandwich is full of pins, securing the layers together (much like your toothpick with the colored cellophane in your deli sandwich).  

When you are completely finished pinning, you may remove the binder clips or tape and you are ready to quilt the layers together.  (*another note on my picture---I had pre-quilted my blocks, thus the stitching--yours will be plain)

Be careful pinning!  Watch those fingers!
My favorite sandwich is a BLT and a quilt sandwich....what about you?

Pin away!
Renee


P.S.All tutorials, information and images are the property of Renee Galloway at Ney Ney's Nest and are intended for personal use only.  Feel free to re-blog, pin, share with attribution to Ney Ney's Nest.  For all other purposes, please contact me at reneegalloway@me.com.  Thanks!


Monday, November 17, 2014

Baby Quilt Tutorial-Quilt By Machine

In this tutorial, we will machine quilt our "sandwiched" quilt that we assembled in the prior blog on how to assemble a quilt sandwich. 

  This technique works best with a walking foot.  This particular presser foot helps feed the layers over the dog feet (the zig-zag like treads under the presser foot).  It can only go forward and backward and is typically only used for directional lines and stitching in the ditch.  (perhaps another tutorial?)

Another technique to quilt on the machine is free motion quilting.  This technique uses a darning or open toed presser foot. The dog feet are dropped out of the way and the quilt sandwich is moved with your hands to create intricate and creative designs!  I'm just beginning to try this technique.  

Lastly is a technique using the normal foot and machine stitches programmed into your machine.  Stippling, zig-zag, curves, shells, etc are all designs that can be used as is or modified to create quilting lines to hold your sandwiched layers together.  This photo is demonstrating an "S" stitch that I elongated to quilt the plaid sections of the baby quilt.  The painter's tape (I use a LOT of painter's tape in my studio!!!) is a method to keep me lined up properly without having to mark the quilt and wash the marks out.  Just stitch a line, measure and quilt, move it and start again!

It is best to start quilting from the center of the quilt and move outward in quadrants.  The purpose behind this rule of thumb is to smooth the layers from the middle to the outside edges.  Creeping can occur (and is normal) of the layers as the presser foot feeds them through the machine.  That is why I included the "grace" (see other Baby quilt tutorials) on all the edges.

I also like to vary my patterns.  On the elephant print I did a straight stitch set on the diagonal.  The plaid got a wavy stitch and the chevron I followed the zig-zag of the fabric.  
 
This is the backing I used-plaid is on the reverse.  Note that the waves aren't perfect!

Remember to have a new needle 90/14or 80/12, a full bobbin ( I hate to run out in the middle of a sewing sequence) and good thread.  (Perhaps another post?)


Happy stitching!
Renee


P.S.All tutorials, information and images are the property of Renee Galloway at Ney Ney's Nest and are intended for personal use only.  Feel free to re-blog, pin, share with attribution to Ney Ney's Nest.  For all other purposes, please contact me at reneegalloway@me.com.  Thanks!


Friday, November 14, 2014

4 Year Breast Cancer Diagnosis Anniversary

You never think you will hear the words "You have cancer"....it always happens to someone else.  I'm happy to celebrate 4 years since my BREAST CANCER DIAGNOSIS!

I actually didn't "hear" those words from my doctor's lips.  She told me I flunked my needle biopsy and I asked, that means it was cancer?  She only nodded and I tried to provide a strong sense of confidence and a little humor with a short laugh...after that I don't remember much else of the conversation.  Dear husband listened to my options, we were handed a packet of information and as I walked through the waiting room, I remember trying to hide the packet of information so others watching wouldn't give me pitiful looks.

We were still trying to wrap our heads around the "C" word when we realized dear hubby needed to make a call to the elders at our congregation to let them know he wouldn't be at a previously scheduled meeting.  The look on his face and the lump in his throat when he gave the reason as "Renee has just been diagnosed with breast.....c...a...n...c...e...r" was all it took for my resolve to crumble.

We had suspected the results would come back positive-I hadn't felt well in a while.  Again, that woman's instinct that "something like this doesn't happen to me" had me thinking in simple terms.  Had the house checked for mold, painted all the rooms and changed out the carpet.  Maybe my mattress isn't a good one and that's the reason I'm tired.  OR maybe it's because dear hubby snores all night.  Do I have too many irons in the fire?  I kept my yearly GYN visit and bloodwork came back fine.  Nothing was wrong with ME.  It had to be something else!  I never had experienced any health issues before and my only hospital stay was to give birth.  I exercised, ate healthy....


  However, I couldn't make it through a day without "crashing" around 2 PM.  The kicker was one day in August when I decided to move my sewing room from one room in the house to our vacant "pool house".  After one load of stuff in a laundry basket and a rubbermaid tote on a dolly, I was DONE.   I mean, sit down on the couch, put my feet up and eat an apple and peanut butter.  Maybe my blood sugar was low??? Nada....

Not long after this experience, we drove to Birmingham to visit my sister and brother-in-law for a niece to be crowned Homecoming Queen.  After vowing to help SIL get ready for the after party, I fell asleep on the couch until time to get ready to leave!  Yep...something was definitely off.

So, to say it was a surprise isn't true.  It was just a shock of reality-I HAD BREAST CANCER.  We had calls to make to children that were in college and family that lived out of state.  Tough, but we made it through.  Neighbors bringing food and support that night and many prayers helped us get through the "C" word diagnosis day.

Blessings come in a variety of ways.  You wouldn't think of cancer as a blessing.  There is a song in our hymn book- "Count your many blessings, name them one by one."  Because of my cancer diagnosis, I count my blessings every day.  Not just around a table for a Thanksgiving meal, not when something good happens.  James 1:2 tells us our faith will be tested and we will have to "count it all joy...when you meet trials of various kinds."  We just have a tendency to think those trials happen to someone else.  With faith "all things are possible"(Mark 10:27).  It would be possible for me to count a breast cancer diagnosis a blessing as long as I used my faith to get me through that trial.

So on my 4 year anniversary of my breast cancer diagnosis, I celebrate blessings!  Of faith, family, friends, life, love and breath every day!

Thank you dear friend, Lori Ford, for my 4 year celebration T-shirt!  


Can you find a blessing in EVERY day? What about taking the time to name them all?  On your drive to work?  In the shower in the morning?  While you lay in bed at night in the dark to lull you to a peaceful sleep?

Blessings to you today,
Renee


S.All tutorials, information and images are the property of Renee Galloway at Ney Ney's Nest and are intended for personal use only.  Feel free to re-blog, pin, share with attribution to Ney Ney's Nest.  For all other purposes, please contact me at reneegalloway@me.com.  Thanks!

Friday, November 7, 2014

Recreating a Vintage Smocked Dress


I got a call about a year ago (yes, I'm just now writing about it) to recreate a vintage smocked dress from the 50's.  The most interesting part about the recreated dress....it was to be used as a costume on the broadway stage!


I was asked not to mention the name of the production due to copyright infringement, however, just think Southern...None of the costume seamstresses knew how to smock!  The costume designer browsed through Etsy and found my newly opened shop and the rest is history!  I received a package containing the dress and enough silk taffeta and floss to complete the insert for a size 5 dress.


Due to Hurricane Sandy, the costumers were behind on their schedules for opening night so I agreed to complete it and return as quickly as possible.

I loved working with the silk taffeta and pleating it was a dream!


Next I blocked the piece to fit the yoke of the vintage dress I'd been given.  Since I was working with a gingham, it was easy to make sure everything stayed lined up by following the horizontal lines.  This is where things can look "wonky" if not pleated straight.  "Wonky" pleating will cause the  gingham lines to appear distorted (they even make my eyes hurt).


Now the fun part! SMOCKING!!!! I scanned the vintage dress so I'd have a makeshift "template" that I could write on and compare to my newly pleated and blocked piece.


The vintage pink gingham dress had been designed to have the pleats "puff" between rows which required less smocking time (but more cuddly time for the Maltese babies).


Finally, the finished insert, ready to be shipped back to NYC.


******edit 11/6/14
            I never found any pictures with the costume on a little actress :( but thought with holidays coming up it might inspire someone to use an older, vintage garment to create a special Christmas dress.  Don't be afraid of taffeta or silk dupioni!  I loved smocking on it and hope to recreate more garments in the future.


Sew Happy Stitches!

Renee

Tuesday, November 4, 2014

Baby Quilt Tutorial-Assemble the Top

Baby Quilt Tutorial-Assemble the Top is part 4 of the series on how to sew a unique but simple quilt suitable for beginners or more advanced seamstresses.


A baby quilt can be used for many purposes.  Obviously for babies-either to  cover them, lay them on the floor or wrap them up, but baby quilts are the perfect size for snuggling on the couch, laying across the lap of an elderly relative or friend or even taking to an outdoor sporting event!  With all the variety in fabric choices, the possibilities are endless!


Today's tutorial will consist of assembly of all the parts and pieces we've cut in previous tutorials. (see them HERE and HERE)


I used regular Coats and Clark cotton mercerized thread to piece my quilt top.  (Quilt terminology for "assembly of the top pieces" or "sewing it all together")  I used the same in my bobbin.

Start with the little pieces first.  In this case they are the chevron or the two 3" pieces I had you cut previously.  Pin one 3" piece with the right sides together against the middle fabric. (this puts the seam on the inside with the pretty fabric on the outside when complete) My middle fabric is the elephants or the 12.5 inch long piece on your quilt.  Repeat for the other 3" piece on the remaining middle section.

Right sides together and stitch!
Now you can use a 1/2 " seam and stitch on the outside edge to sew each piece to the middle block.

Repeat the process with the bottom block, in my case the plaid 24" and then again with the top block which is the remaining 6.5" block.

This finished piece is your quilt "top"!  

Be gathering your supplies for next week and we'll begin to quilt by machine.  You'll need batting in crib size or a remnant from a larger quilt.  Remember it will be bigger than our top to allow "grace".
We'll use Coats and Clark mercerized thread for the quilting on this project.  Always have extra machine needles handy--Schmetz 80/12  or 90/14 are good sizes for this project.  

Sew up a Storm!!
Renee


PS.All tutorials, information and images are the property of Renee Galloway at Ney Ney's Nest and are intended for personal use only.  Feel free to re-blog, pin, share with attribution to Ney Ney's Nest.  For all other purposes, please contact me at reneegalloway@me.com.  Thanks!