Showing posts with label cutting fabric. Show all posts

Tuesday, November 4, 2014

Baby Quilt Tutorial-Assemble the Top

Baby Quilt Tutorial-Assemble the Top is part 4 of the series on how to sew a unique but simple quilt suitable for beginners or more advanced seamstresses.


A baby quilt can be used for many purposes.  Obviously for babies-either to  cover them, lay them on the floor or wrap them up, but baby quilts are the perfect size for snuggling on the couch, laying across the lap of an elderly relative or friend or even taking to an outdoor sporting event!  With all the variety in fabric choices, the possibilities are endless!


Today's tutorial will consist of assembly of all the parts and pieces we've cut in previous tutorials. (see them HERE and HERE)


I used regular Coats and Clark cotton mercerized thread to piece my quilt top.  (Quilt terminology for "assembly of the top pieces" or "sewing it all together")  I used the same in my bobbin.

Start with the little pieces first.  In this case they are the chevron or the two 3" pieces I had you cut previously.  Pin one 3" piece with the right sides together against the middle fabric. (this puts the seam on the inside with the pretty fabric on the outside when complete) My middle fabric is the elephants or the 12.5 inch long piece on your quilt.  Repeat for the other 3" piece on the remaining middle section.

Right sides together and stitch!
Now you can use a 1/2 " seam and stitch on the outside edge to sew each piece to the middle block.

Repeat the process with the bottom block, in my case the plaid 24" and then again with the top block which is the remaining 6.5" block.

This finished piece is your quilt "top"!  

Be gathering your supplies for next week and we'll begin to quilt by machine.  You'll need batting in crib size or a remnant from a larger quilt.  Remember it will be bigger than our top to allow "grace".
We'll use Coats and Clark mercerized thread for the quilting on this project.  Always have extra machine needles handy--Schmetz 80/12  or 90/14 are good sizes for this project.  

Sew up a Storm!!
Renee


PS.All tutorials, information and images are the property of Renee Galloway at Ney Ney's Nest and are intended for personal use only.  Feel free to re-blog, pin, share with attribution to Ney Ney's Nest.  For all other purposes, please contact me at reneegalloway@me.com.  Thanks!

Tuesday, October 28, 2014

Baby Quilt Tutorial-Cutting It Up

Today's post is all about getting the fabric cut and ready to go!  I like to do all my cutting at one time, put the cut fabrics in their bag or tote (see Baby Quilt Tutorial-Organization) so I'm ready to sew when time allows.

My preferred method of cutting is with a rotary cutter, Omnigrid ruler and a self-healing mat.  Make sure your rotary cutter has a fresh blade so you can make precise, clean cuts.  I keep spares in my sewing cabinet (watch those coupons and save!)

I made my quilt 36x48.  It is sufficient to cover a crib (rarely ever done after baby gets here!) or to use as a floor mat or baby seat cover in cooler weather.  Both my children received quilts made by my aunt and we used them for all of the above and even as nap covers when they moved to their "big boy and big girl" beds!

I chose 3 fabrics for my quilt.  The plaid I chose to use as the "header" and "foot", the chevron as the back and decorative band, and the elephants as the feature fabric.
With the completed quilt, you see the crosswise grain goes left to right and length goes north to south.

Since fabric is 42-45" crosswise, I chose to make the crosswise grain my width. This also prevents any stretching or give in the pieces due to the weave of the fabric.  Initially I cut the whole length of the fabric and then cut to size later.  (this gives me lots of "grace" area for shifting layers later in the construction)

I then cut the length from the "length of yardage".  Since my quilt will be 48 " long, I need 1 3/8 yards.  (Again, I like "grace" so I usually get 2 yards.  Any scraps can be used later for appliqué or a scrap quilt)  Use your rotary cutter and omnigrid ruler to make a square cut by lining up the bottom of the ruler on the fold and cut at the 2 yard mark along the crosswise grain.


The next step is to cut the front pieces!   A note here in the event you chose a directional print like I did, you MUST pay attention to the print.  In my case, I made sure my cutting lines were along the design lines to prevent a "wonky" looking piece.
(Check out the above photo...look at the cutting line for my chevrons--the tip of each all the way across the width of the fabric, my plaid fabric is along the same "line" of plaid the whole length of fabric)

The "header" (plaid) = 6.5" x width of fabric (WOF)
       "footer"  (plaid)= 24"x WOF
        bands   (chevron)= 2 each of 3" x WOF
        main     (elephant)= 12.5 x WOF
        backing (mixture of plaid and chevron) 48 x WOF
         Since my quilt will be 48 " long, I need 1 3/8 yards.  (Again, I like "grace" so I usually get 2 yards)
         For this quilt, I wanted to add an extra strip of color, so I combined leftover fabric to make my 
         2 yards after sewing them together.
        4 yards of quilt binding to match ( you can make your own bias strips or purchase ready made)

 You will also need crib sized batting. There will be excess but that is the "grace" allowance I talked about earlier.  I prefer a scrimmed cotton batting.  Warm and Natural is my favorite brand, but others may be used.   It can be purchased online or at many sewing shops.

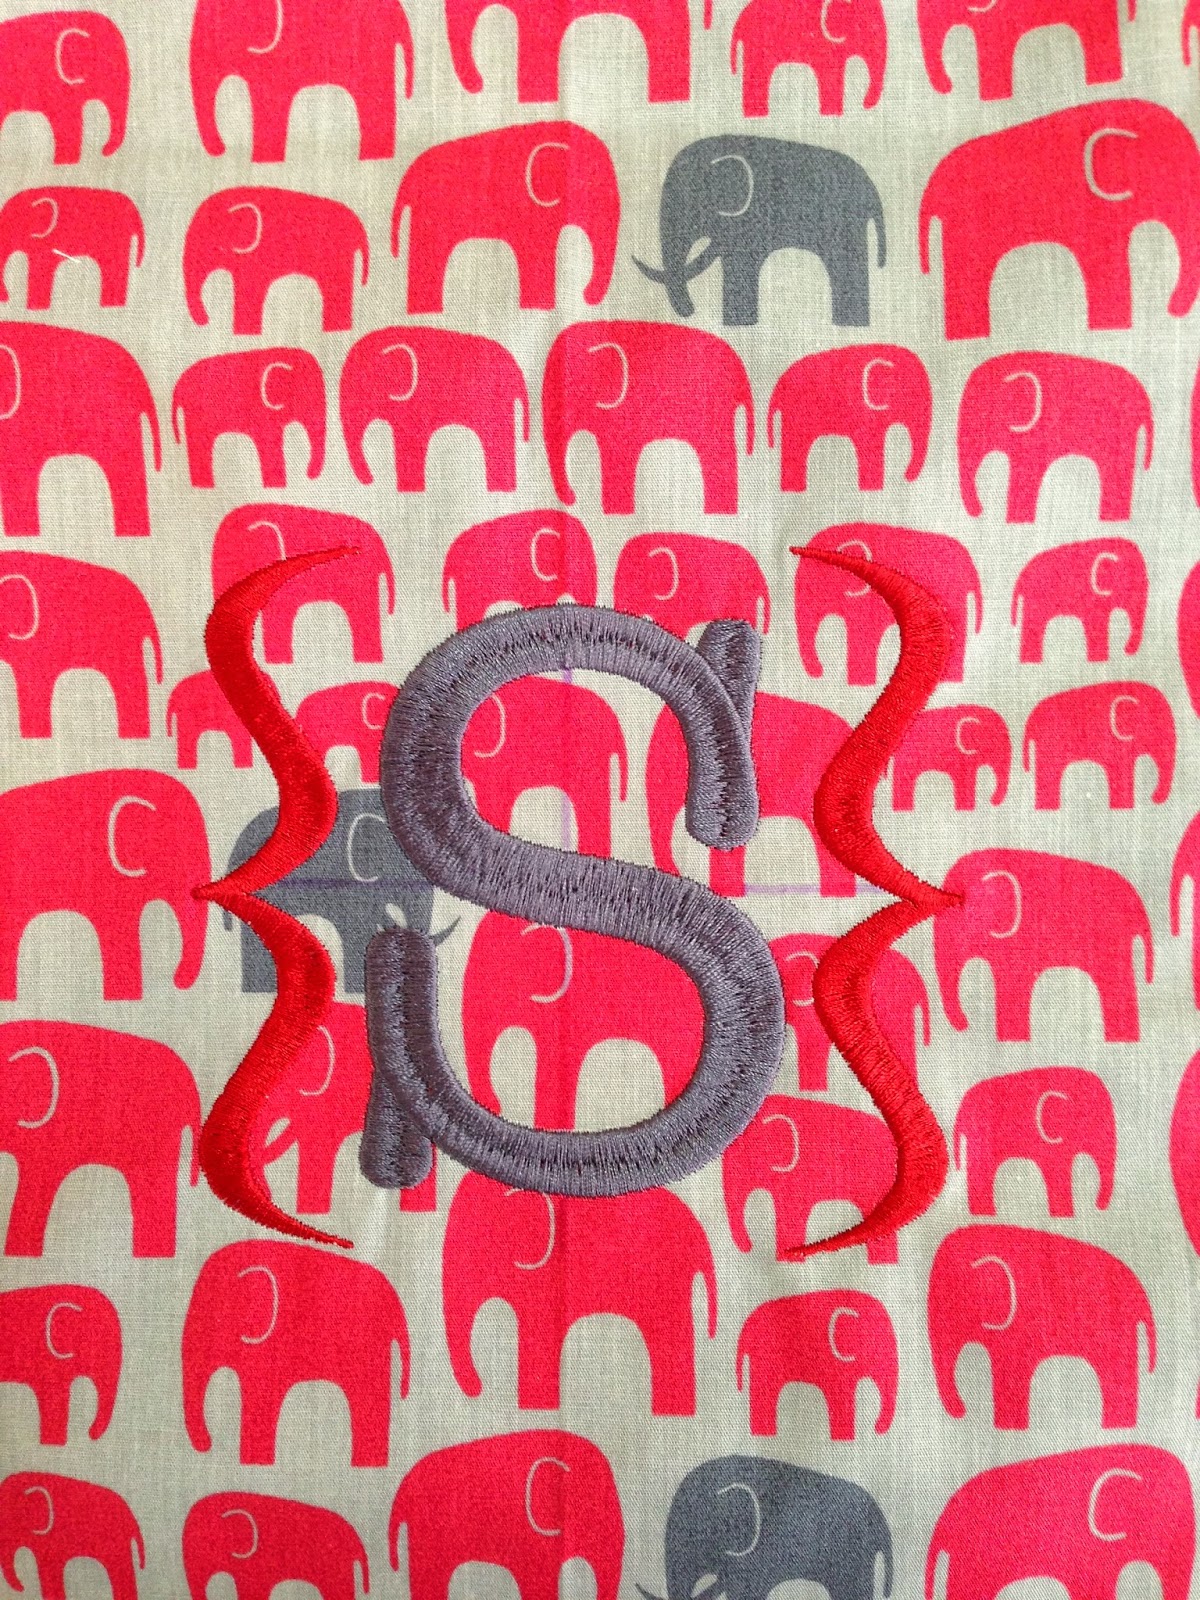
I chose to embroider an initial monogram onto my main fabric.  If you choose to embellish with any embroidery.  Do it now after centering it on your fabric pieces.

We'll sew in our next tutorial!

Cut carefully.....
Renee Galloway

PS.All tutorials, information and images are the property of Renee Galloway at Ney Ney's Nest and are intended for personal use only.  Feel free to re-blog, pin, share with attribution to Ney Ney's Nest.  For all other purposes, please contact me at reneegalloway@me.com.  Thanks!